Making a Dedicated Player, QR Install
Full kiosk mode setup for Android 7+, QR install
If you haven't read thru the section on full kiosk mode, you should do so now. Below we'll assume you have done so.
Preparation
You will need:
- A device running Android 7+ equipped with a working camera. The device need not have Aesop Player (or any other software) installed since this process requires doing a Factory Reset.
- WiFi Internet connection (for the device). Be sure you have the login and password(s) to set up the connection on the device.
- A Google Play Store account. See here for considerations on what account to use.
N.B. We have set up this installation procedure to use Play Store so that you continue to get automatic updates. There's a note to Experts in the Aesop README on GitHub on the details and how to avoid using Play Store.
Important
The functionality needed for these installation steps, "QR provisioning", is part of Android 7, however not all vendors have implemented it on all devices.
There is some limited information about availability of QR provisioning on specific devices:
- Jason Bayton has tested a number of devices, look for your model and "✓ QR provisioning".
- You can try googling the phrase (with the quotes):
<your-tablet-model> "QR provisioning"
1. Factory reset
The device needs to be cleared to its factory state so that Aesop Player can be installed as a privileged app. This will allow it to activate the Full Kiosk mode. For more information on Factory Reset, see here.
- Reset the device, as described here.
- Reset will take a while. When it's finished do not start configuring the device, see the next step.
2. Device setup with Aesop Player
When the factory reset process finishes you are presented with the device "Welcome" screen.
- Tap the "Welcome" screen 6 times (somewhere not on a button or text).
- Follow the on-screen instructions to connect to the Internet and install additional components. You will need your WiFi login and password(s). (After setting up WiFi, depending on the device, you may need to "back up" to the QR install screens to tap "Next" and proceed.)
- A camera app for scanning QR codes will show up (this may take a little while to download).
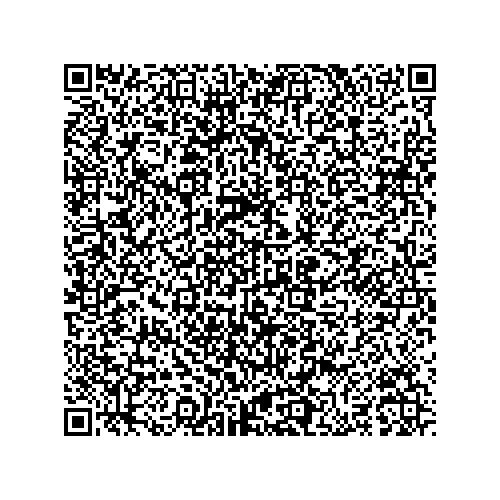
- Point the camera at the QR code below to scan it. It works better to hold the device aligned with the image.
There's a button on the screen to switch to the selfie camera (if present), if the default camera is
not working.
The code instructs the device to install Aesop Player from the Play Store and make it a privileged app so that it can activate the Full Kiosk mode. - Various messages for initial device setup may appear, which vary by device. Take the defaults or "no thanks" to minimize what you put on the device.
- It will (after a while) take you to the login for Play Store. As discussed here you should consider which account you use to log in to Play Store.
- Log in to Play Store with that account. Since Aesop is free, if it asks for a payment method, tap "Skip for now". It will go directly to Aesop, and you can click "install" to start the installation.

If tapping the "Welcome" screen doesn't have any effect it is likely your device doesn't support "QR provisioning". If that is the case, install Aesop from the Play Store in the usual (manual) way, and then continue using the instructions for the adb method to give it the required privileges.